Birch, Please! Interview
•

Here is an interview with one of my absolute favourite jewellery artists,
Fran from 'Birch, Please!'
(I mean, I'd follow her for the name alone.)
If you haven't seen Fran's amazing work you are in for a treat.
A few years back there was an explosion of laser cut jewellery as it became more accessible and people had access to, and could buy their own machines.
There was some good stuff, some OK stuff and some really crap stuff.
Birch, Please! had the edge though.
Her layered designs with wood, mirrors and gold caught my eye, and I've been following her ever since.
(Not in a creepy way, in a 'buy her art' kind of way....)
1. What's your favourite piece of jewellery you've made?
It would have to be the chameleon I'm about to launch with my new Patreon. It sounds like a disingenuous plug, like "oh of course she'd say that!" but honestly - if it wasn't my favourite creation I wouldn't be starting a whole new area of my business around it!
It would have to be the chameleon I'm about to launch with my new Patreon. It sounds like a disingenuous plug, like "oh of course she'd say that!" but honestly - if it wasn't my favourite creation I wouldn't be starting a whole new area of my business around it!
.

.
2. Do you wear your own jewellery?
I do! I started my business around the same time I started developing the confidence to experiment more with how I dressed. At the time, I probably would have said I only wear my own creations when I'm selling them in person, to act as a sort of living mannequin, but looking back I feel like designing my own jewellery while I was struggling to find anything that felt like 'me' on the high street helped me uncover my own style, and it's now very much an intrinsic part of me and my personality.
.

.
3. Which other artists do you admire?
Oh wow, there's SO many, across all kinds of disciplines. My good friend Grace at Sushi Studio (@sushiartstudio) is an incredible animal artist and maker. I adore the jewellery of Rosita Bonita (@rositabonitauk), Switchblade Maid (@switchblademaidshop), and Kirbee Lawler (@kirbeelawler). The hand-sequinned patches of Lost Without You (@lostwithoutyou_patches). The amazing tiny sculptures by The Little Mew (@thelittlemew). All the accessories by Liz Harry (@lizharrydesign). And YOU! And so many more. I'm constantly finding new artists to obsess over, and the list just keeps growing and growing.
It may come as no surprise, looking at my work, but I actually have a degree in illustration. I fell into jewellery accidentally during my final project, in which my aim was to apply my illustrations to as many surfaces as I could think of. If I hadn't chosen to pursue the jewellery idea further, I would have done my best to become a self employed illustrator, so not actually too far removed from my current life, and in fact something I still hope to bring back into my life now, alongside jewellery making.
4.If you weren't making jewellery, what would you be doing?
If I hadn't had art at all I definitely would have gone down a path like entomology, or been a zookeeper or something.
.

.
5.How long does it take you to make a piece of jewellery?
From scratch? I'm kind of a slow-worker. About 30-45 minutes sketching, 15 minutes inking, up to 5 or 6 hours colouring, plus another hour sorting out the cut and print files. Most batches (I refer to however many necklaces of a certain design I can get out of one A4 sheet as one batch - generally between 5 and 10 necklaces depending on the design) take between 10 and 20 minutes to laser cut, and up to an hour or more in the printer. Plus 10 minutes or so per necklace for gluing, and cutting and assembling the chain.
6. Have you ever given up on a design that just didn't work out?
It actually happens all the time when I'm working on new designs. I'll have this idea I really want to pull off, but I just can't make it work in the context of being a necklace, or there's something about the design mixing with my style of jewellery or method of drawing that bars it from being of an equal quality to the others, and there's a deadline looming, so I focus on the ones that ARE working instead. The latest that comes to mind was a rhino design for my endangered species mini collection. I was really happy with my sketch, but it all fell apart when it came to colouring. I just couldn't get the texture to look quite right; it was either completely smooth, or looked TOO rough and wrinkly and was a bit distracting. After many hours of trying, I had to call time and walk away from it so I could get the rest of the designs released.
.

.
7. Do you find you know which pieces will be popular or are you surprised?
It's funny, it sometimes feels like I can predict a design's popularity in relation to others very easily, but occasionally I get completely blindsided. There's a few designs I think are massively under-appreciated, and I refuse to discontinue them because I'm determined that one day they'll be as popular as they deserve! And on the flip side, sometimes a design's popularity will skyrocket and blow up my expectations. So I'd probably say I have about an 80% accuracy rate!
8. Is it hard to choose which animal to make next?
It can sometimes be very hard. I often start out with a huge list I'd love to do, but I can only do a handful of them at a time, so narrowing them down can be quite tricky. I also have to find a balance between just doing the animals I find cool and interesting, and also thinking about what other people might want to see, and what will sell. I feel like I'm coming to a point now where many of the obvious choices have already been done, and I'm slightly scared but very excited to see where the un-obvious choices will lead.
.

.
9. What are the main steps to making your jewellery?
First I gather a lot of reference pictures and create a rough digital sketch. The sketch gets refined and inked, then coloured digitally. I build up the colours and textures very gradually, sometimes using over 100 layers on a single design. I create the cut files by adding a small border around the drawing, and a couple of loops for the chain to attach to. I'll then laser cut one set of shapes, glue them and add a chain to check the balance - that I haven't mistakenly made one side a lot heavier than the other so it hangs lopsided. Generally this is something I plan for in the sketch phase, so any slight lopsidedness can generally be fixed by moving the loops around a bit. Once that's been finalised, I tessellate as many shapes as I can onto one A4 sheet for the cut file, and cut a few batches. While the laser cutter is going, I use the cut file as a starting point to create the print files for the flatbed printer. I first print a template onto a piece of scrap paper that's been taped in place so it doesn't move, and carefully align the laser cut pieces of wood by hand on top of it. Once I've fiddled with the settings, I can then print 2 or more layers of white ink directly onto the wood, before a final layer of white and CMYK colour. The ink is UV cured while in the printer, so the pieces are dry, water resistant, and ready to be glued the moment the print ends. Some pieces require hand-painted gold details, or acrylic accents that have been cut or engraved while the printer was going. Then it's just a matter of cutting chain to the correct length, and assembling the clasp.
10. What was the first piece you made?
The first piece I EVER made was a shrink plastic flamingo necklace. The first piece I made that spawned Birch, Please! as it is today was the original hand-painted octopus. I was playing around with my brand new laser cutter, and decided to make a 2-layered octopus so I could add dimension to the tentacles. It came out so well, I tried making every design I had planned 2-layered. It quickly became a signature of my work, and is probably one of the things that makes it so recognisable.
.
If you want to know more about Birch, Please! I recommend taking a look at the Patreon website.
I am so tempted by the 'Early Bird' which offers exclusive designs delivered every month.
What a fantastic package that would be, something to really look forward too!
More Posts
-
![Visual Stimming As A Creative]()

Visual Stimming As ...
Since finding out I am AuDHD a couple of years ago I have come to realise how being neurodivergent is a big part of my creativity. It all comes dow...
Read More -
![Why Use Organic Cotton]()

Why Use Organic Cotton
Why use organic cotton? Cotton is one of the most widely used fabric in the world. It’s a natural, sustainable and a non toxic material. Or at leas...
Read More -
![Altered Carbon Review]()
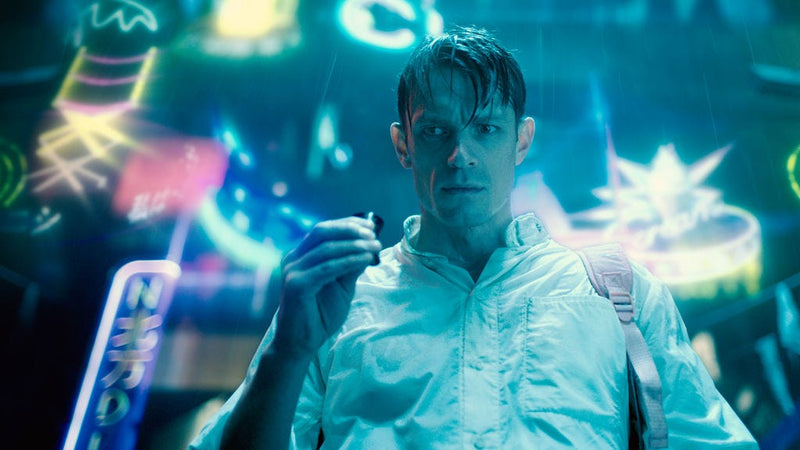
Altered Carbon Review
I'd go as far as to say this is my favourite show. In a future where human consciousness can be downloaded and you can change bodies (sleeves), som...
Read More


Comments
0 Comments
Leave a Comment